Douglas A-4 Skyhawk in 1/32 scale
page 2
page 3
https://youtu.be/mTeCxI3_ZQU
Some information about the real Douglas A-4 Skyhawk is presented on the 1/72 page here.
On these pages the larger 1/32 scale Hasegawa TA-4 Skyhawk two seat trainer is presented.
My modelling friend Peter encouraged me to participate in the "Large Scale Planes" (LSP) group build "in the navy" that ran from March to end August 2021. The contents on these webpages are similar.
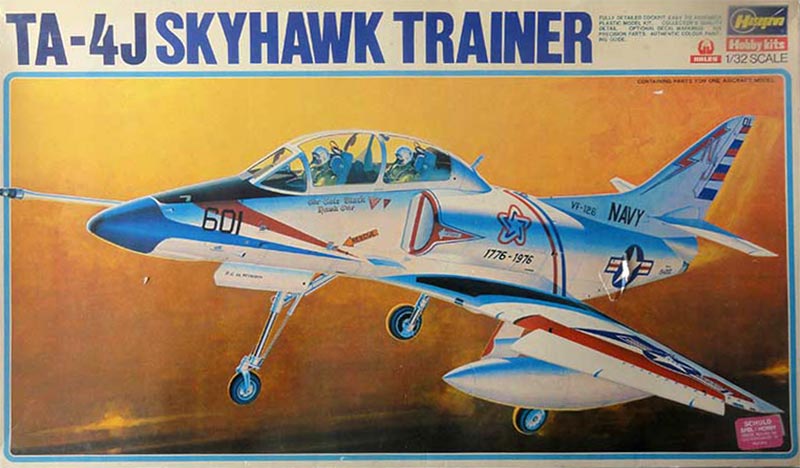
The Hasegawa TA-4J Skyhawk in 1/32 was one of the first 1/32 Hasegawa kits (after their F-104) that was released around 1981 along with their single seat A-4E Skyhawk.
The last decades I have only seen a few kits made. It is still the only TA-4 trainer in this scale. My modelling friend Bas gave me this kit many years ago.
The contents of kit #S024 is seen here

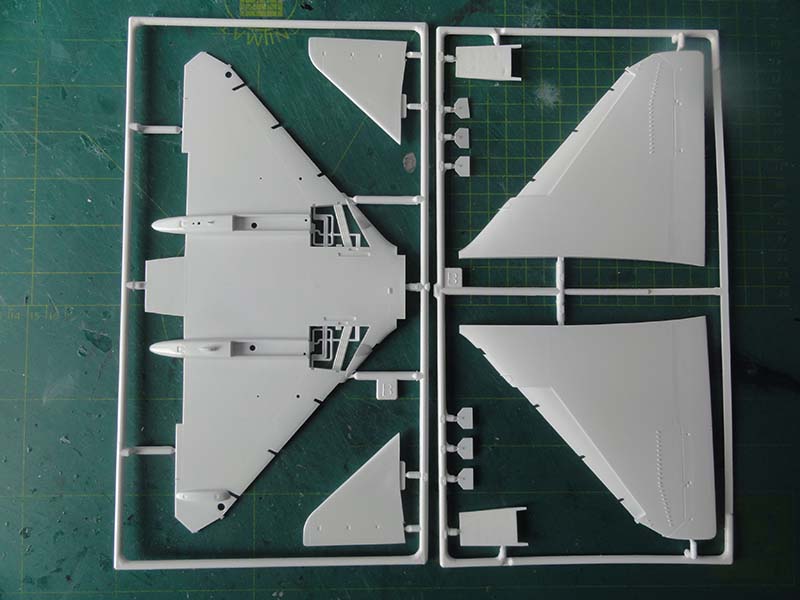
The sprues are in white plastic with some common sprues with the single seat A-4.
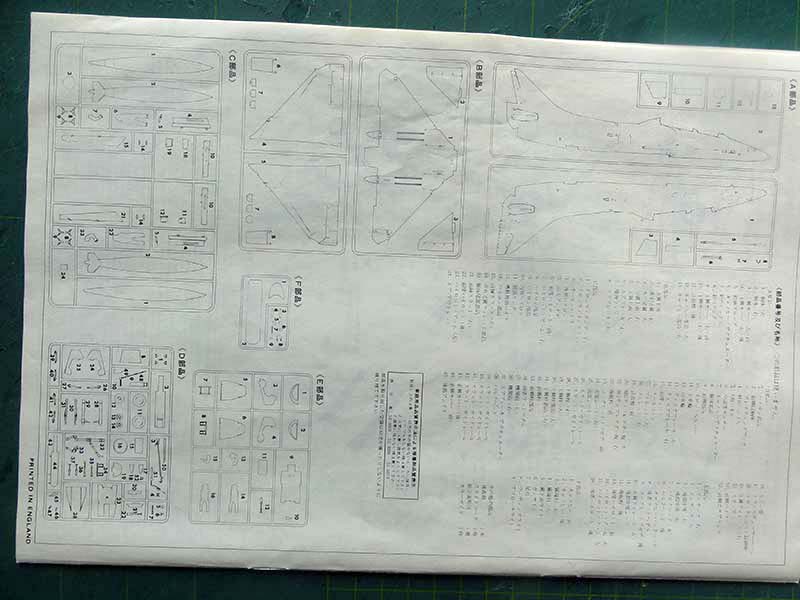
Most notably is the longer fuselage.


You get a few less "stores" in the TA-4 kit release as compared with the single seat kit with only the wing fuel tanks.

The
few panel lines are raised and very tiny raised rivets are seen as well. That
was the technology those days and it does not look bad at all.

The decals in this kit #S024 are for a single US NAVY TA-4J VF-126 "bicentennial" bird in 1976.
The few panel lines are raised and very tiny raised rivets are seen as well. That was the technology those days and it does not look bad at all.
A few aftermarket US NAVY Microscale 1/32 A-4 decals sets had also been bought over the years as well as an...
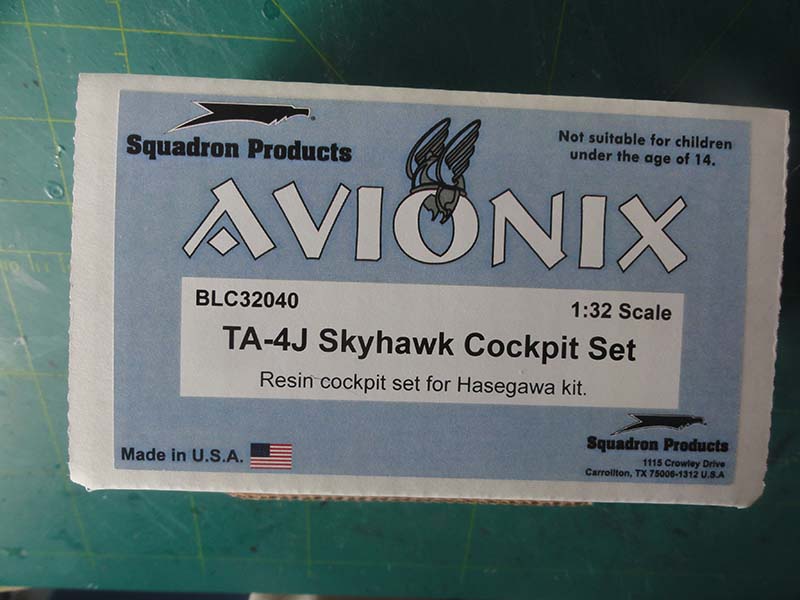
.... AVIONIX aftermarket set #BLC32040. This is a Squadron USA brand name for the "Black Box" set. The contents are a bit disappointing as many parts are copied kit parts notably the instrument panels. I only saw this once the set was purchased which was also rather expensive.

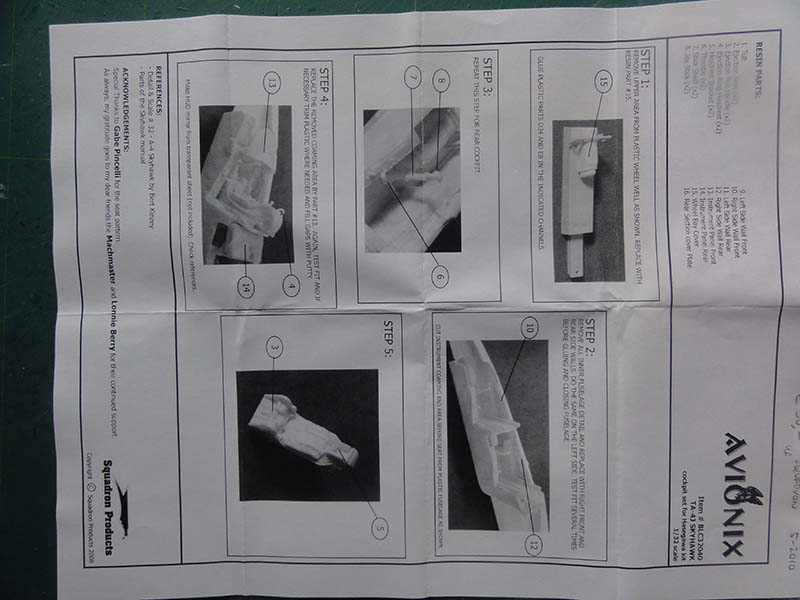
The casting blocks to be removed are rather thick. The resin side panels though look good! The ESCAPAC seats seem to be of type 1C-3.

The kit would be finished as an Australian RAN TA-4G with a gull grey and white scheme. This model would fit nicely within my small Australian 1/32 jet collection.

I assumed that the seats are correct for this one and that the instrument panels are usable for a RAN TA-4G. I had seen some photos of instrument panels that had more couple of CRT rectangular screens but probably these were an upgrade retrofit.
Some improvements to the kit made are not only improving the cockpit interior but also:
- remove the "step" at wing nose with drooped slats
- open main air intakes
- add detail on landing gear and in bays
- inscribe panel lines
Other nice improvements would be:
- to droop the trailing edge flaps
- lengthen exhaust pipe
- add detail inside the canopy
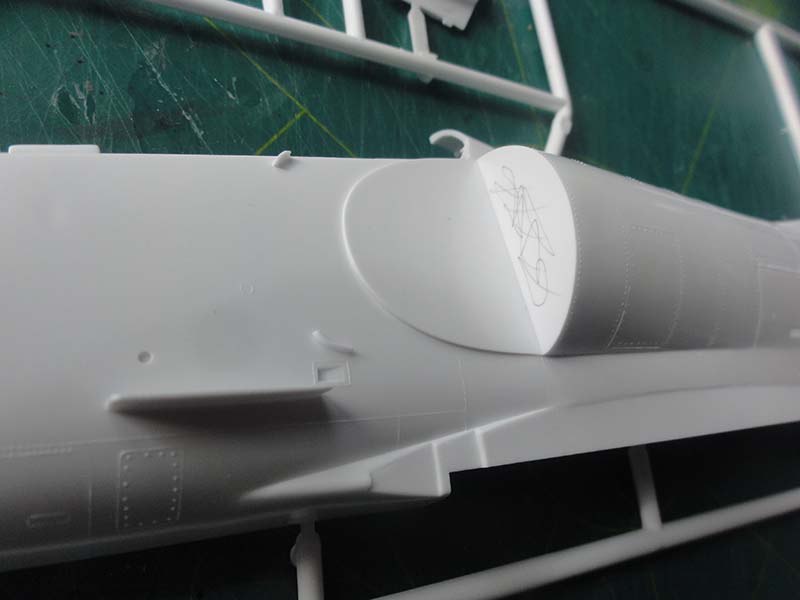
Work on the wing started. The vortex generators look good and ensure not to damage them during assembly and any sanding.
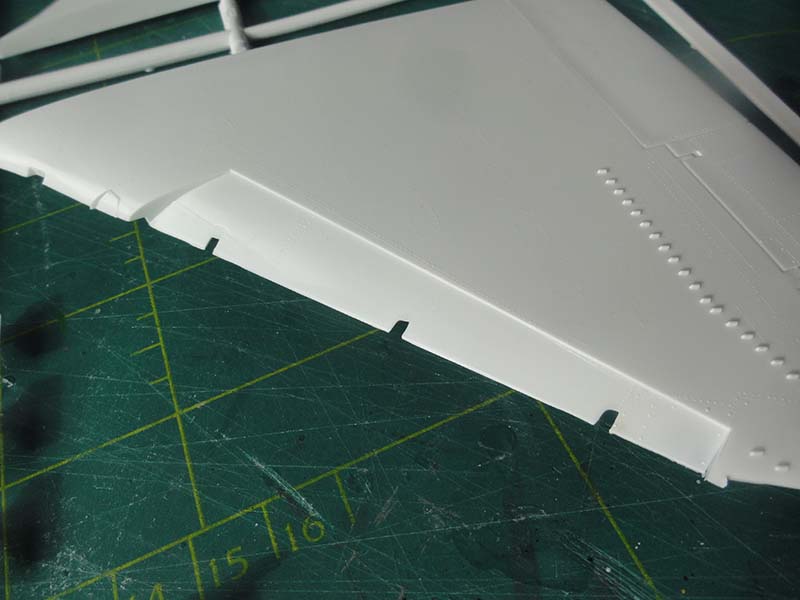
(1) On all parked A-4's the slats droop and fortunately the Hasegawa kit has separate slats. There is however a noticeable "step" that should not be there. Real A-4's have a smooth area here.
(2) Most trailing edge flaps also are seen drooped on parked A-4's as well. Later A-4 versions also had a split upper flap.
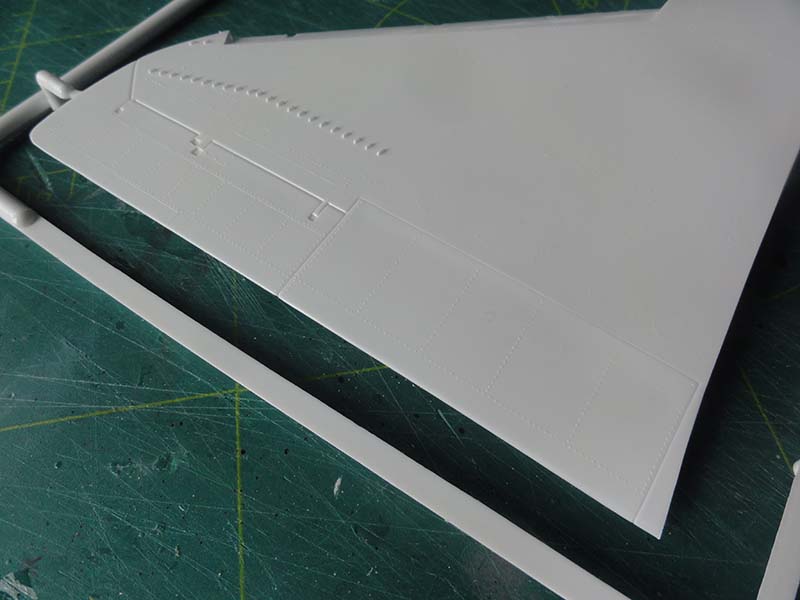
Here the kit only provides a solid rear wing so cutting with a razor saw is needed.

So thin new upper split flaps, which will be set closed but need to be made from new thin plastic card.
(3) Although Hasegawa provides a sort on main gear bay interior with tubes in the lower wing halves for the main gear bays, these are a bit thick and undeep.

I will simply cut these out and they can be later be glued to the bottom (this being the upper wing halves) or make new ones from scrap. To be done.
Before cutting and working on these areas.....
(4) The wing was re-scribed with a scriber using the raised kit lines as guide. I drew lines with a pencil at these lines. When done, lines were inscribed. Next, the raised lines were sanded off with the now new inscribed panellines remaining. Make sure to keep the very good vortex generators at the wing.
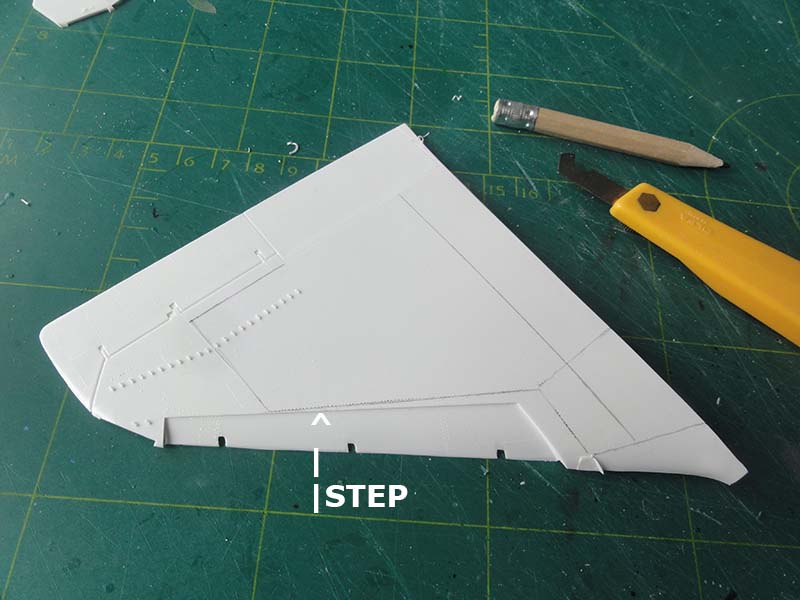

The "step" at the the slat section was to be made invisible....
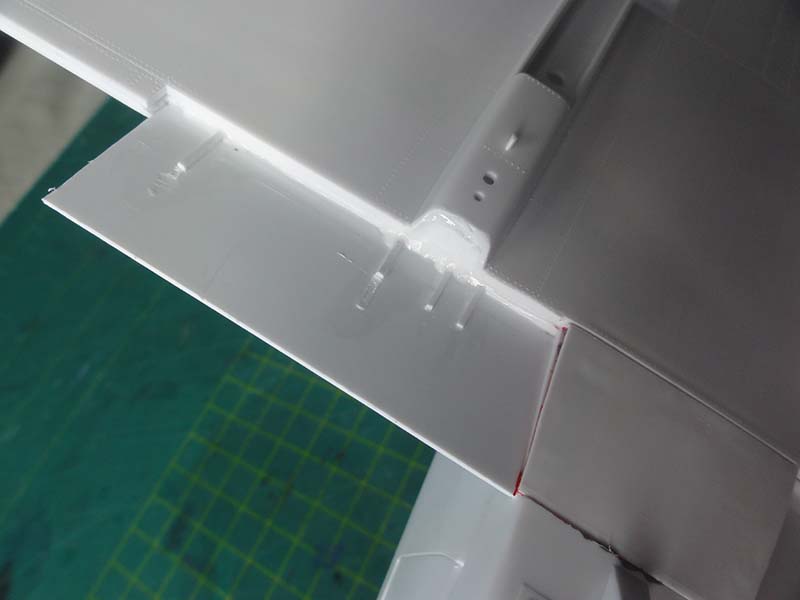
The wing trailing edge sections were cut. I also decided to remove the ailerons and set these separately later on.

The removed trailing edge flaps were sanded thinner and will get a rounded nose. The removed wing area were closed with thin plastic card. These represent the upper split flap section but will be set "closed".

All needs to to be blended in and made flat with putty and sanding. When done, re-scribe again some panel lines and gaps.
This was done with putty. A couple of sanding and putty passes were needed to get smooth results. Protect the surrounding areas with tape.

The split flaps were also tackled, puttied and to be sanded blended in....
NOTE: between the flaps a detailed mid-section is seen; Hasegawa suggests this can be drooped open for engine access / cooling, a very nice suggestion as it is often seen on parked A-4's. Will be considered later on.

The
major work on the wing was ready. A quick dry fit revealed that setting the
wing on the fuselage is quite easy. This kit, though some 40 years old, fits
pretty well.
Now, the twin seater fuselage was tackled.
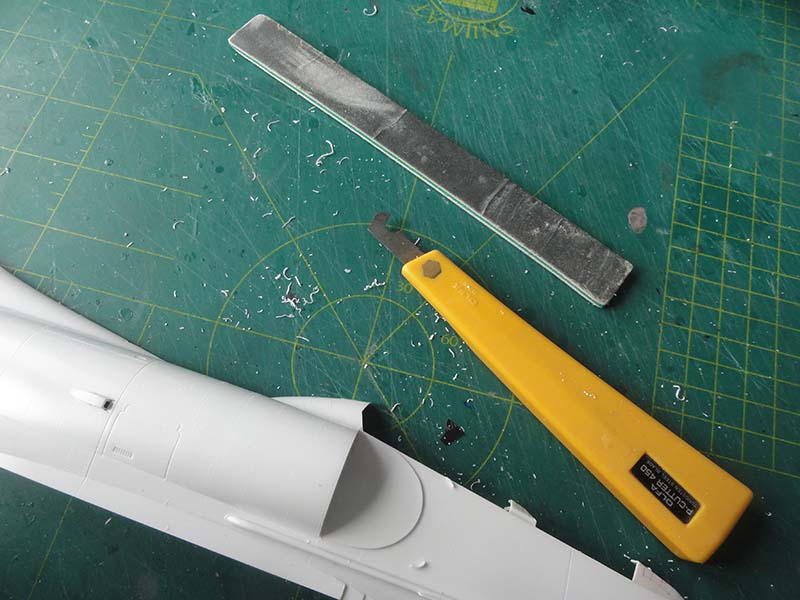
First, as done with the wing, the raised panel lines were to be re-scribed. Pencil these out using the kit lines as guide and inscribe. As the fuselage is curved, some flexible metal rules were used to get straight lines. When done, the fuselage halves were sanded, removing the raised details.
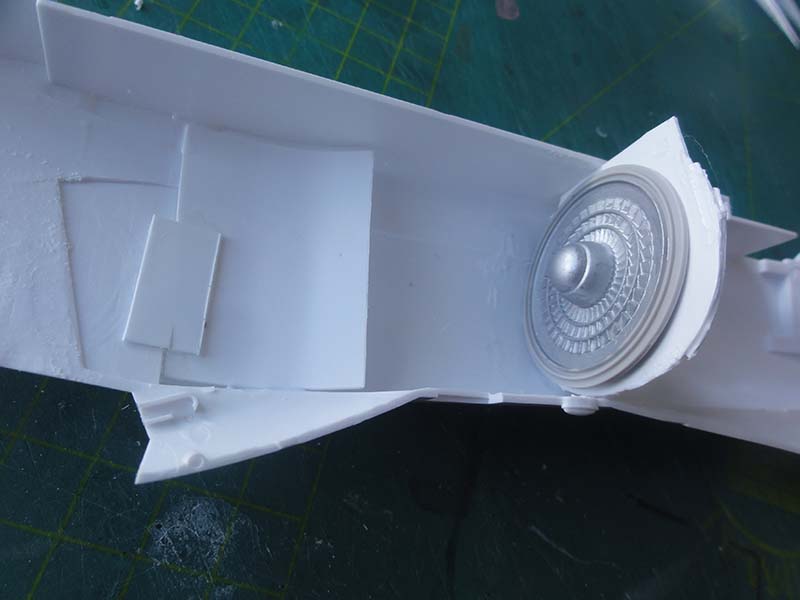
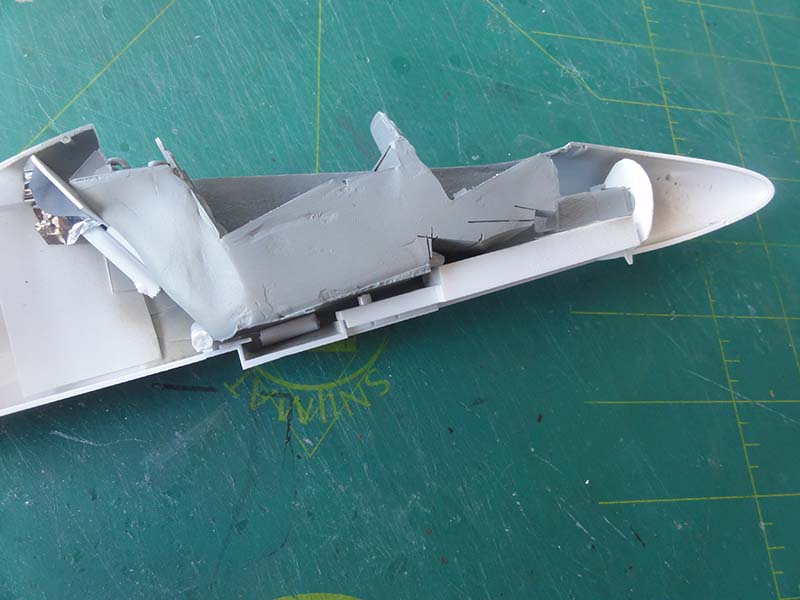
There are no engine air tunnels and when the intakes are set in place, a solid was is seen which is quite undeep for this scale.
The walls were cut open after drilling a few holes, take care as the plastic is rather hard and avoid “spilling blood…”.

As the resin AVIONIX cockpit set will be used, it is necessary to remove the raised inner wall detail in the cockpit. A motor tool was used here.

It was decided to do just a bit work on the interior. A bulkhead was made from thicker card and in the spares box a big engine fan face found.

Some plastic walls for the “tunnels” were made, bended a bit and set.
![]()
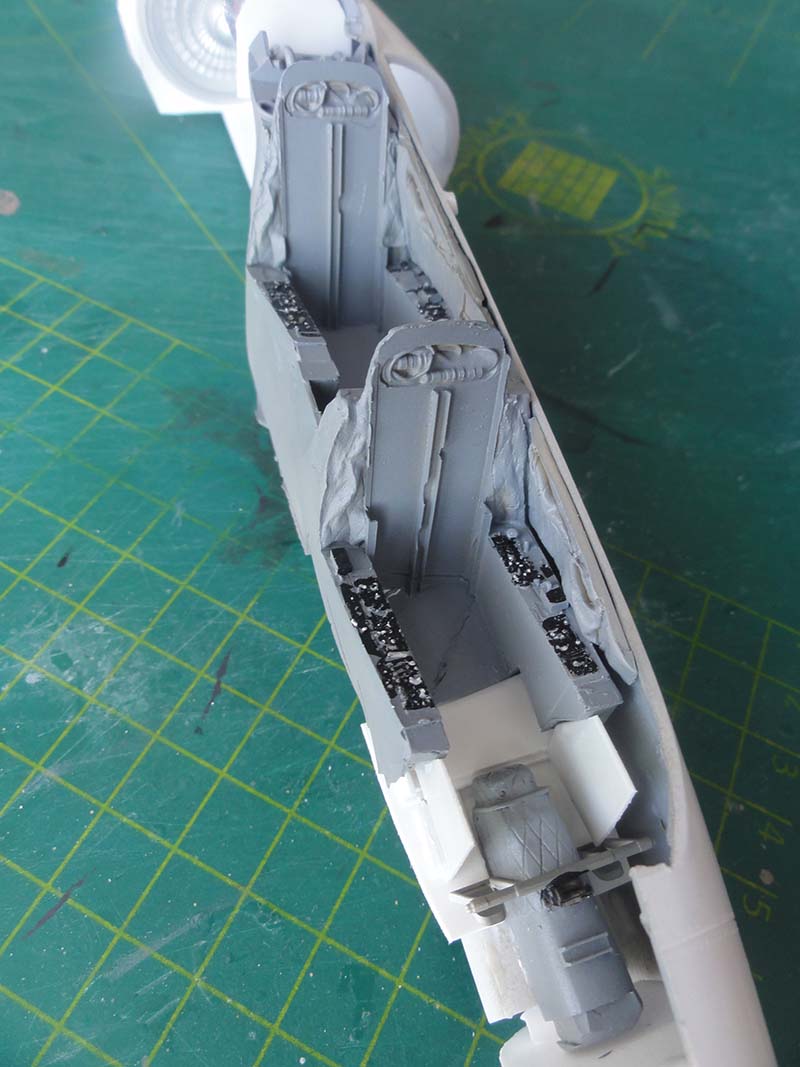
Some dry fitting was done now for the AVIONIX cockpit tub. This revealed that the poured floor is rather thick. I am not a fan of sanding resin, preferring sawing.


Any resin dust is very harmful. Cutting is also very risky with a razor saw but gives less done. Cutting was done under a running water tap, wearing nitrile hand gloves and put face mask on.
It however resulted in some damaged forward floor areas. But these can be repaired with card.

Also, a part of the wheel well needs to be cut and replaced with resin as seen here…
Meanwhile, the resin bits of the cockpit were airbrushed. The standard colour is probably FS3621.

When done, it was rather gray and on photos I saw a more “blue” hue in the cockpit. So it was decided to airbrush another a light coat of FS36320 with Gunze Sangyo H307 on the horizontal surfaces in the cockpit.
The insides of the fuselage halves were roughly airbrushed grey with Revell Aqua 75 or use anything you have here. This was done as models with white plastic often show a “shine through” in sun light under the applied camouflage paints later on, so better ensure a thicker paint cover.
It was decided to paint the cockpit as the standard on the TA-4J assuming that the TA-4G is not that different when these were delivered.
(it is probably that later on in their service career some main instrument “clocks” were replaced with rectangular ones).

The
console details were painted with a fine brush looking at photos such as those
found in the Detail & Scale #32. Colours are black and gray switches. (the
engine trust handles and other details will be added much later).
On to next [ page 2... ]
Back to 1/32 Models

(c) Copyright Meindert "designer"/ All rights reserved. Your comments are welcomed by webmaster
Created this page
August 16, 2021