[ page 2 ]
1/32 scale Revell Eurocopter EC-135 / Airbus H135
... continued from page 1...
Revell Germany is the main supplier of nice helicopters scale model kits in many scales. Particularly in 1/32 they have very nice kits. Initially, Revell had released this 1/32 EC-135 helicopter kits in 1994 (seen on page 1). But this Revell kit has been superceeded by far better ones in 2005 with completely new moulds. The new kit has appeared in following years in various releases with many common sprues but also often a different sprue for e.g. troop seats and medical equipment parts and different decals. It is a real good kit with loads of detail. It is obvious that the Revell Germany model mould designer had access to a real German helicopter.
The model was made as ANBW EC-135 model. ANWB operated/operates several EC-135 helicopters and in over 25 years more than 100,000 flights have been made. The fleet has been modernized all the time with newer helicopters. At least once a week one helicopter of the type EC-135 or latest version H135 flies over my town.
The ANWB is the "national car association of The Netherlands" that is now over 100 years old. The same ANWB started to operate helicopters in May 1995 for medical emergency support and medic ambulance tasks. Current official name is ANWB medical air assistance. The ANWB and ADAC work closely together and in the beginning shared helicopter operations in the East border region between the two countries.
Page 2
Page 3
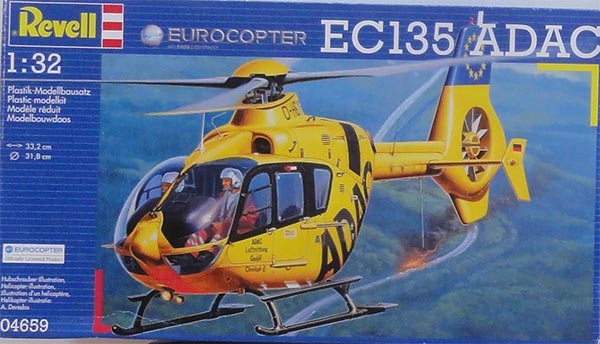
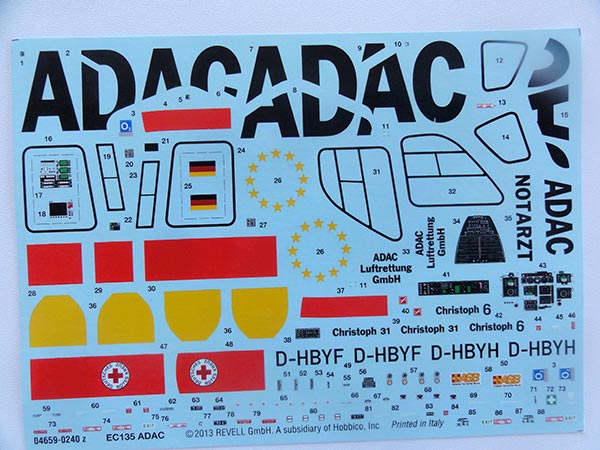
Kit #04659 is for a EC-135 T2 German ADAC "Car association" which operates dozens of helicopters for medical emergency support and medic ambulance tasks in yellow liveries. The kit has the usual EC-135 Fenestron tail layout with also a bump below the fin and smaller fins on the horizontal stabilizer.

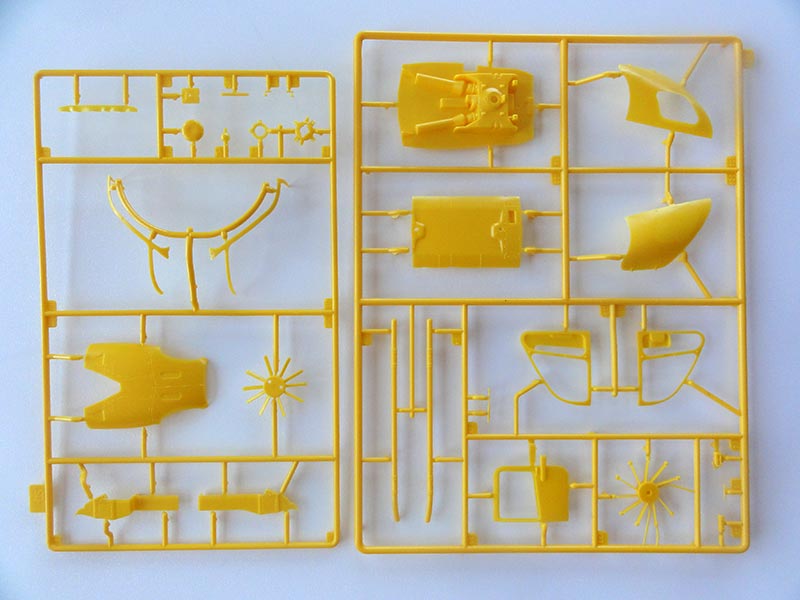
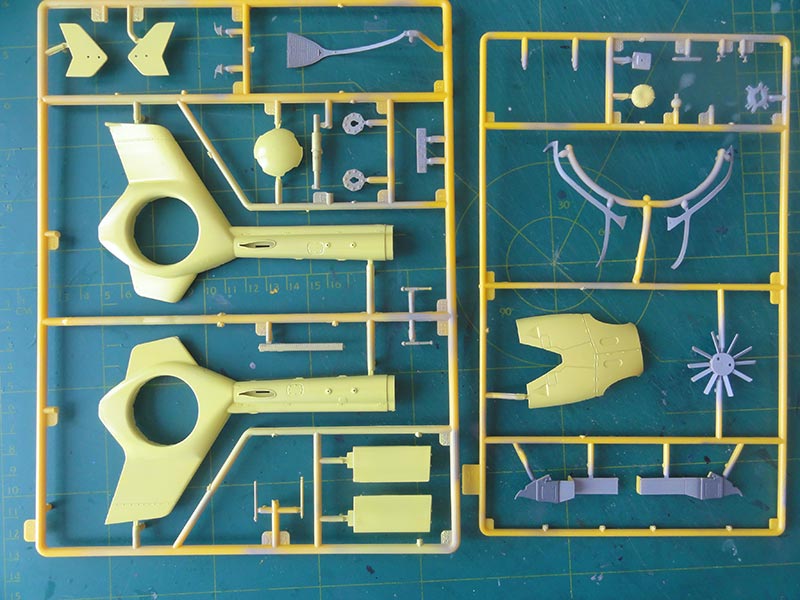
There are some 260 parts in this great kit and the exterior parts are in yellow plastic. This was done as the kit German ADAC scheme has a yellow RAL 1021 colour.


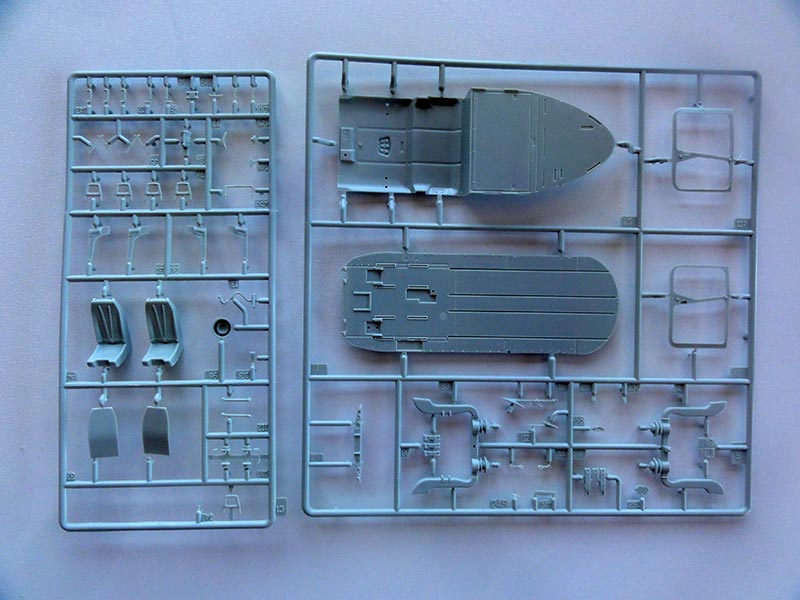
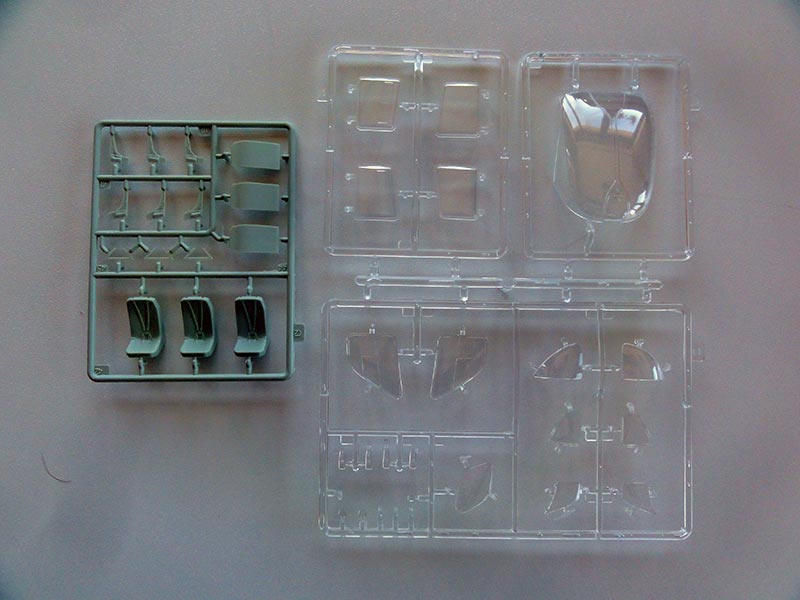
The interiors parts are in grey.


.... and excellent ADAC decals for 2 "Christoph" helicopters:
no. 0078 D-HBYF flown from Bremen and no. 0100 from Berlin D-HBYH.
The detailing of this kit and the decals are excellent! The instructions in black and white have a step by step approach which are not always logical when making a helicopter kit. Below my suggested STEP by STEP approach is presented.
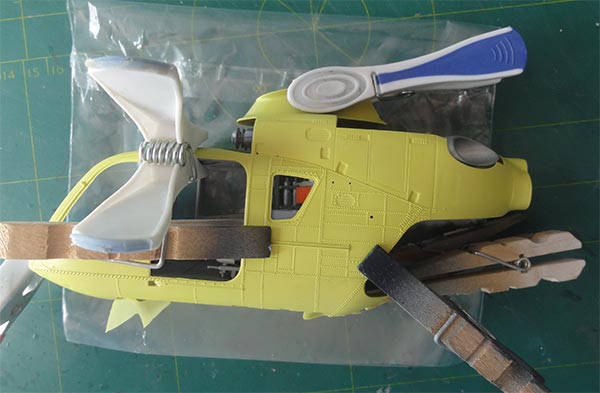
NOTE: the Revell instructions are a bit unclear regarding the main rotor rotation. The rotor should turn anti-clockwise when seen from above. (I have seen many completed models with an incorrect main rotor installment).
So it was decided to make this 1/32 Revell kit as the ANWB EC-135 T2 ambulance helicopter registered PH-EMS. It landed during a mission near my house and I had made some photos of it (see my walk around IPMS reference). This helicopter will be made.
PH-EMS was registered December 3, 2004. February 2013 it was sold to an Austrian operator. It had the titles in Dutch such as "mobiel medisch team" and flies from the Amsterdam VU hospital platform during duties. It als has the older ANWB logo. There is an old scheme with old stype ANWB logo on the tail that will be made as model (later a new scheme was applied on the PH-EMS with English language titles with also a deleted top antenna #179 and a new antenna below the nose part #264 which are in the kit).
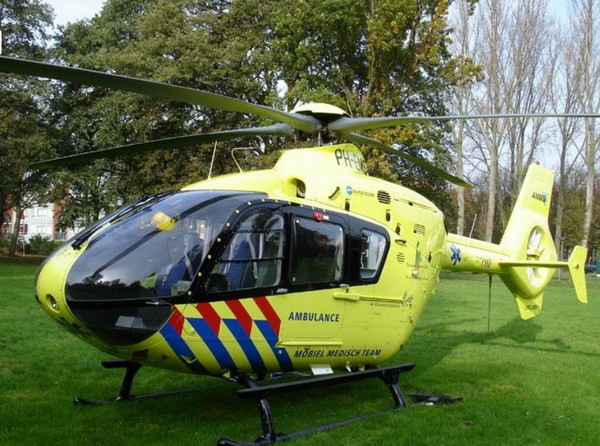
(one of the photos made by me of ANWB EC-135 PH-EMS in the first scheme when it landed in 2005 near my house)
My IPMS modelling friend Maarten made several ANWB helicopter home made decals in 1/72 scale; for me Maarten scaled up a set to 1/32 as seen here and it includes the newer ANWB logo:

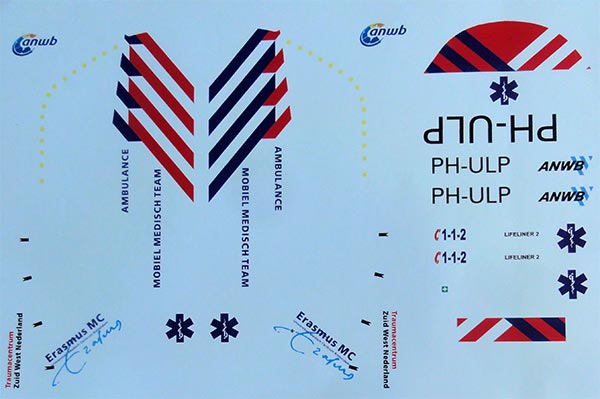
TIP: you may also try 1/32 FVC-decals #232024 for an ANWB EC-135 helicopter PH-ULP; nice is that the older ANWB logo is also on this sheet that I need for the PH-EMS. A quick look suggested that the red-blue stripes have a correct size but the texts are seem a bit too small.
 ..
..
These ANWB helicopters have a "sulphur yellow" RAL 1016 livery (whereas their German ADAC companions have the darker RAL 1021 yellow).
The Revell ADAC kit can be made pretty much out of box for the ANWB when not rebuilding the entire medevac interior. I decided not to open up all the doors, so a lot of cabin interior will be hidden anyway.
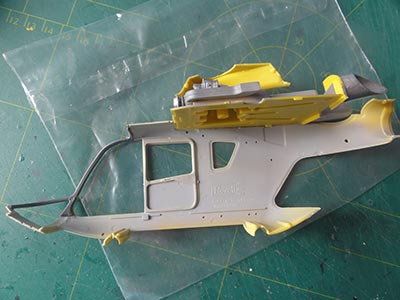
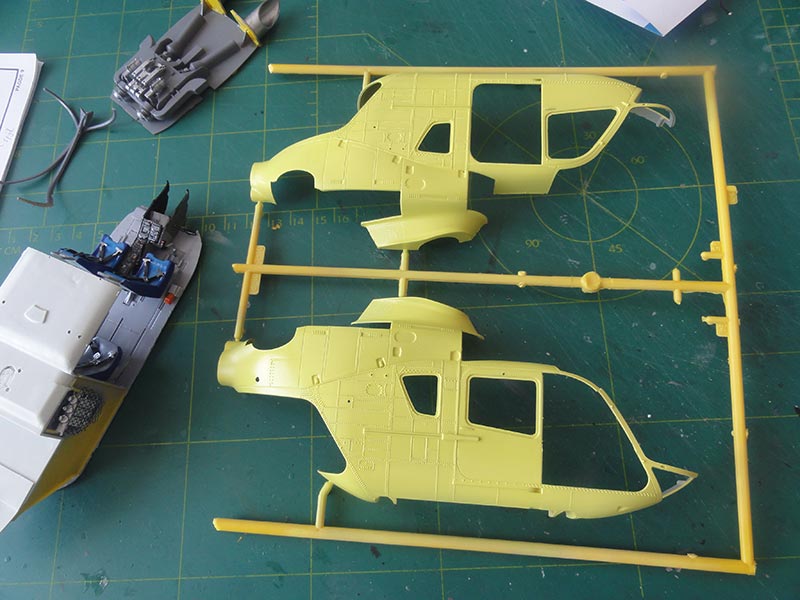
It is better to do some pre-painting to avoid a lot of masking effort later on with large scale helicopter kits. So the bigger parts were mostly removed from their sprues and cleaned up. The tail boom halves were not yet joined together as later on the Fenestron rotor needs to be fitted and obviously the cabin interior.
As with most "yellows" paints, also "sulphur yellow" RAL 1016 is very difficult to airbrush but with this kit, it is fortunate that most plastic is yellow.
The ANWB "sulphur yellow" RAL 1016 is provided in HATAKA acrylic paint set no. #A269 AIR AMBULANCE VOL 1 as paint #HTK-AS76.

(NOTE: the German ADAC RAL 1021 yellow is also in this set).
These paints are acrylic and supposedly "airbrush ready". Shake the bottle for at least 5 minutes, but still I found the paint in the HATAKA drooplet bottle also to be rather thick. So make a thinner consisting of 25% IPA (iso propyl alcohol) with 75% distilled water. I always have a few bottles at hand.
Other parts got first with the airbrush a base grey coat with Revell Aqua 75 steingrau "light grey" acryllic. Aqua paints are very thick in their blue container so thin these in a ratio of thinner mix 1:1 paint.

I always also as extra airbrush a piece of clear decal sheet with the outside colour of a model; this always comes in handy for repairs and corrections.
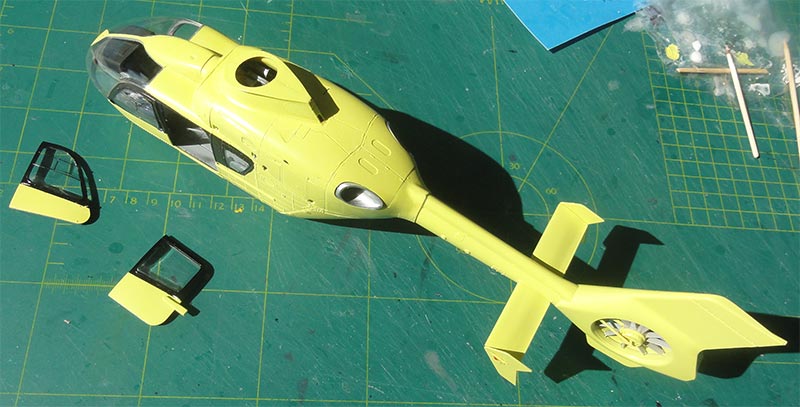
The pre-painted main parts are seen here.

Some of the other interior mid greys were also airbrushed, these are about FS36270 with Gunze Sangyo H306 acrylic.


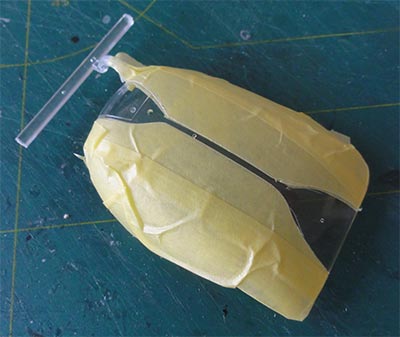
The big wind screen was masked and also airbrushed. First grey base coat and than yellow.
STEPs 1-6
The cabin interior was assembled.
All ANWB helicopters fly with a single pilot on the right seat with no dual controls, so leave out the control parts like the foot pedals #17,18, collective #11 and control column #13 on the left station. Fill the empty floor spaces with card. The pilot control column was made a bit "thicker" with rod and white glue.
STEPs 7-8
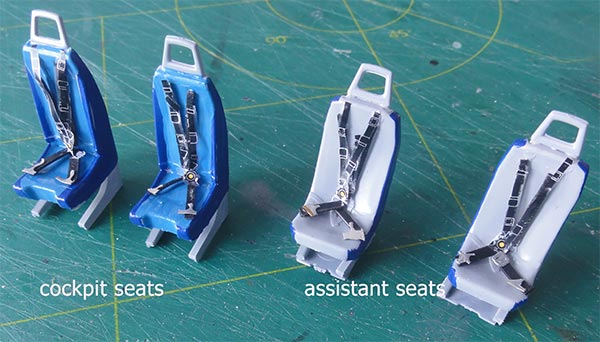
The forward pair of seats are shown in assembly STEP 7. The seat kit parts have moulded one seat straps. I simply put over these bits of painted black tape. Seat colours vary between helicopters, for this ANWB one the upholstery was painted Revell Aqua 50 blau. The rear assistant and medics seats have different colours and their cushions are mostly seen in grey.
STEP 9
The main instrument panel of the ANWB EC-135 PH-EMS still has some old instrument clocks, so the kit CRT panel part #8 was changed. A combination of some paints and decal will do the job. Not a lot is seen later so not too much effort done here. (note: models of newer ANWB EC-135 helicopters can use the kit parts).
STEPs 10,11,12
These parts were not used.
STEPs 13-14
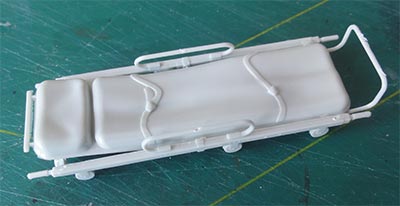
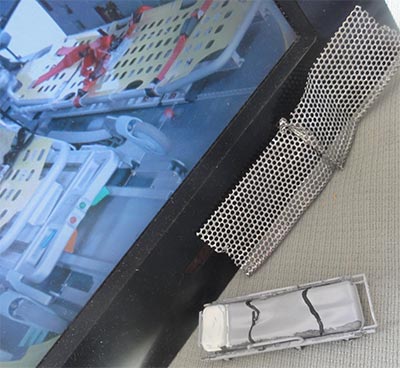
The stretcher in the kit is not the exactly same as the ANWB type but as most doors are to be set closed, accurate enough to install. Paint in various colours later on, varies a lot.
 ...
...I found it has grid with red straps, these were made from scrap. Also a yellow grid is seen and made from scrap metal grid found in the spares box.
 ...
...
STEPs 15-16
The cabin ceiling was made as per kit with rear section cut off and replaced with part #26. I did not have a lot of interior photos but it looked good enough. Most doors will be set closed any way. The monitoring panel #69 was re-arranged a bit and box #70 not used.

STEPs 17,18
These medevac equipment parts were not used.

STEPs 19,20
The right seat is to be placed on rotating plates but I only used kit part #39 sanded flat as it will sit otherwise a bit "too high".
STEPs 21,22
Install these medevac parts but I added some netting / wires at the small rear window openings.
STEPs 23-32
These deal with the cabin and engine compartment. Assemble as shown. The side door strut on the left side is not #119 but #118. I had to remove 5 mm at the top strut in order to have it fit tight.
The right pilot door can be posed open and is nicely done.
Note: Before closing up the fuselage, it is good idea to airbrush the black window areas! I forgot this and needed a lot of masking work later on.
On this kit, the cabin windows are installed from outside. So cabin can be closed at this stage.
STEPs 33-34
Install the cabin interior, engine compartment and close up the fuselage. The fit is OK but use clamps and leave to dry 24 hours. Protect the paint work! You will need about 30 grams of nose weight to avoid skid "tail sitting".
Now go to STEP 37
Fit the upper engine fairing panel, I needed a bit sanding.

The black window edges were now airbrushed. The yellow areas were masked with low tack tape and protected. I used Revell Aqua 07 schwartz "black" but any black paint will do.

Do not forget the doors as well. After paint had dried, the window in the pilot door and slide door were set in place and fixed with Micro Kristal Klear.

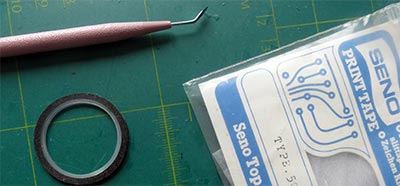
The pilot doors have simple sliding windows. Using decals or paint on transparancies is tricky so these were suggested with self adhering "graphic print" tape. The door insides also got some detail like the door handles.

STEPs 42-44 and 51
The clam doors are nicely done in the kit but I opted to set them closed up. They fit OK and very nice is that Revell also provides the door mechanism fairing #234. (so STEPs 49,50 can be skipped).
STEPs 52-58
The various windows were set, use Micro Kristal Klear. Above the slide doors, red T-shaped plates are seen in the ANWB helicopter; these are in the Revell kit as parts #145. I also installed a few door handles from bits of metal.
STEPs 38-41
The tail boom with T2 type fenestron was handled next as indicated in the instructions. Paint the fenestron parts first before closing up the fin tail area.
STEP 45
The tail boom was installed to the forward fuselage without any issue.
STEP 35,36
The windscreen fits fine but I needed a bit Kristal Klear to close the small gaps. Avoid finger prints!

The intake part #124 also needed sanding and some white glue to close gaps.

On to next [ Page 3... ]
Back to 1/32 Models.......
(c) Copyright "designer"/ All rights reserved. Your comments are welcomed by webmaster
July 16, 2020