[ Pioneer kit ]

DC-2 model in 1/72 scale: Pioneer kit modelling report
The Italeri kit of the DC-3 Dakota is quite good. First I thought to convert the DC-3 3-abreast fuselage to a DC-2 2-abreast one. I removed strips of plastic in the fuselage's top and bottom areas as can be seen here. However, the DC-2 has straight fuselage sides and I could not really achieve a good look despite sanding it flat. So it was a failure, so I set out another course...

the
failure on the Italeri conversion: wing and fuselage...
The MPM kit of the DC-2 had been released meanwhile.....
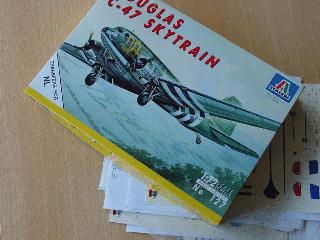
However, as I had the very old Pioneer kit and the MPM kit is pretty expensive, costing over 40 US $, I choose to make an improved DC-2 model through combining a Pioneer kit and an Italeri DC-3: the "combi kit"
The DC-2 kit of Pioneer that I purchased years ago is very crude, especially in the engine and wing area. The fuselage can be used however and is the most important difference between the DC-2 and the later DC-3.
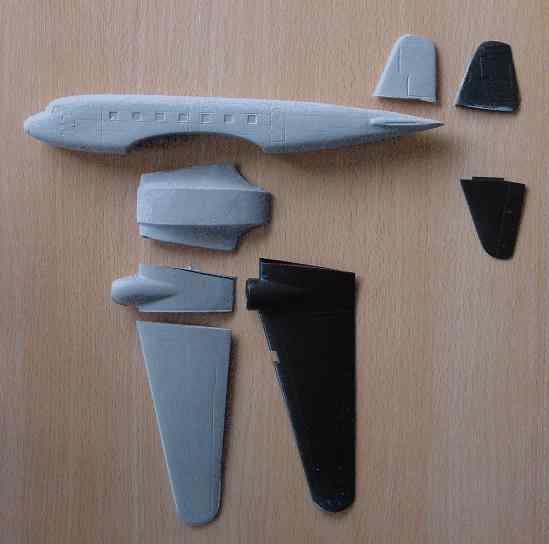

the not used DC-3 kit parts on top and the Pioneer kit parts below
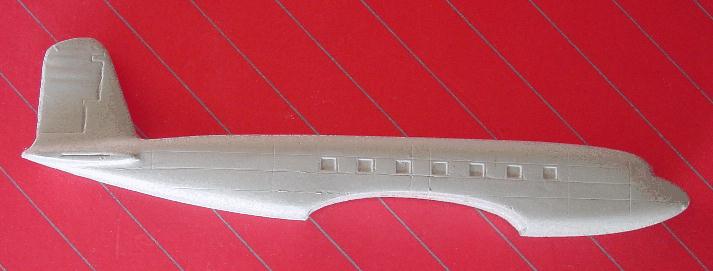
Pioneer DC-2 "solid" fuselage, fin still to be cut off
The following "cross kitting" was
done:
- 0 - some major surgery was
applied, using a fine razor saw...
- 1- the vertical fin of the
Pioneer kits' fuselage was cut off. I replaced it with a narrower chord
converted Italeri DC-3 fin.
- 2- the central wing section
was used of the Pioneer kit but the center wing part reduced in span to
dispose of the crude nacelle stubs.
- 3- parts of the Italeri
DC-3 inner wing section were to be used and adapted in order to fit the
central Pioneer kit's wing section. I had to glue a piece of plastic card
also on the lower wing below the fuselage to get a good result.
- 4- of the outboard DC-3
wing, the tips were shortened to represent the smaller span DC-2 wing.
- 5- the engine cowlings of
the DC-3 were shortened about 5 mm and you will have to add scopes and
intakes also typical of the DC-2
- 6- the engines were converted
to 9 cylinder examples; cut off the 2x2 rows of the Italeri kit engine
7 cylinders and make 2 sets of nine cylinder single row ones.

- 7- the DC-2 fuselage remains
solid as the Pioneer kit part is solid; I will used dark paint and decals
later on for the windows.
- 8- the horizontal stabilizers
of the DC-3 are used, but I removed some chord at the trailing edge.
- 9- more details to be fitted
later on.
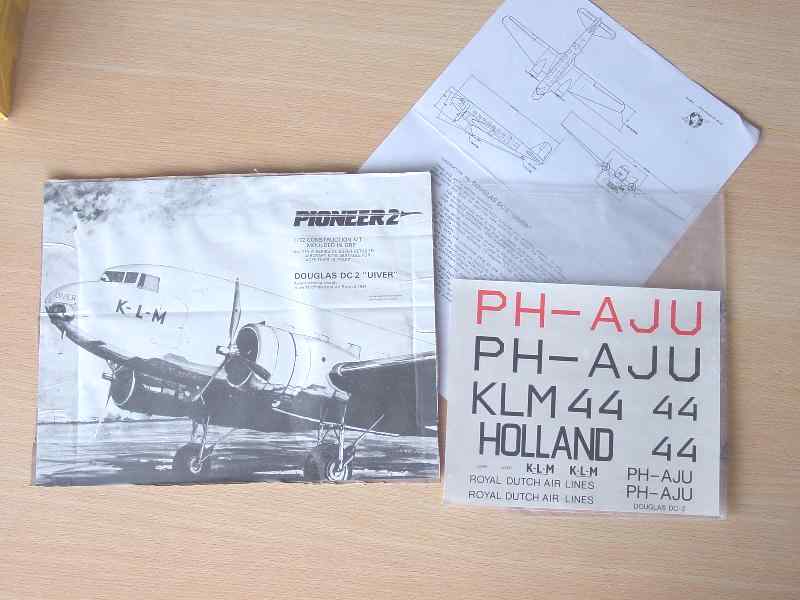
DC-2 model will be finished in a KLM scheme later on, using Dutch decal set 72-15.

Dutch
decal set 72-15

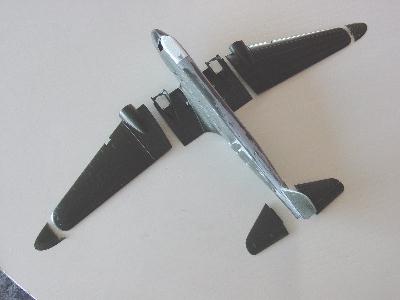
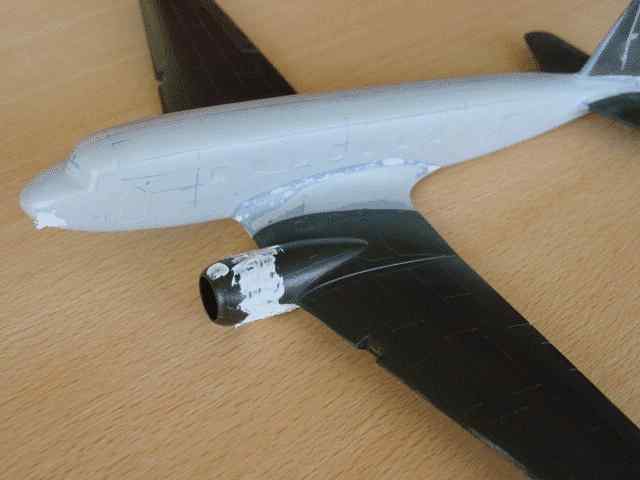
First a coat of gloss black was applied to the model in order to make sure that all different putty and plastic colours blend later on.
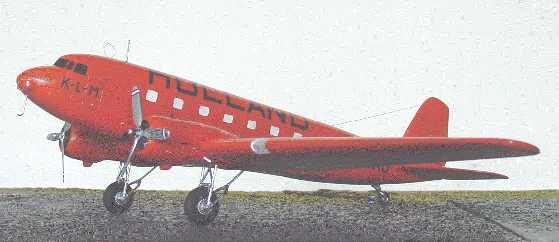
The model has then been given its first coat of large visibility orange.

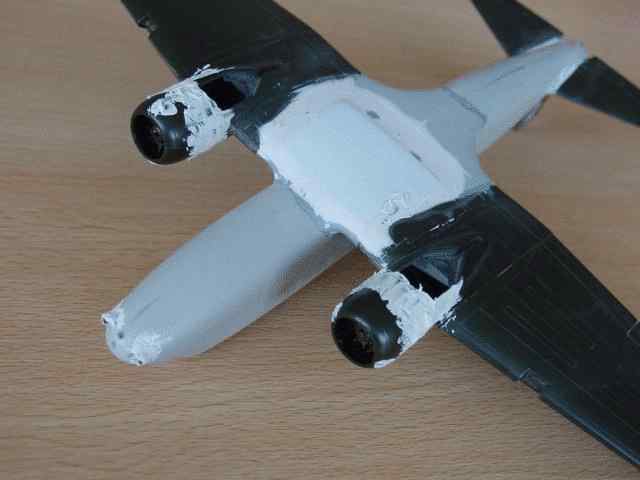
The lower area can also be seen here. As obvious from this picture, the original Italeri nacelles and other wing sections can be seen, but the cowlings have been modified to represent the DC-2 cowling.

Some exhausts and cooling intakes were added, as well as the corrected engines.
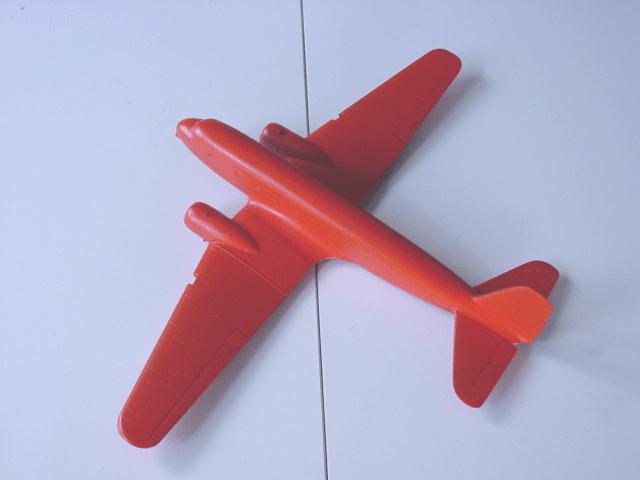
Colour used as suggested by Dutch decal is Orange Xtracolor enamel XF104 (FS12197) which seemed OK. This was airbrushed overall.The model will been given painted windows and some details such as the undercarriage and antennas. On pictures, the cabin windows have a white appearance. I also added a layer of Micro Kristal Klear to get a transparent look.
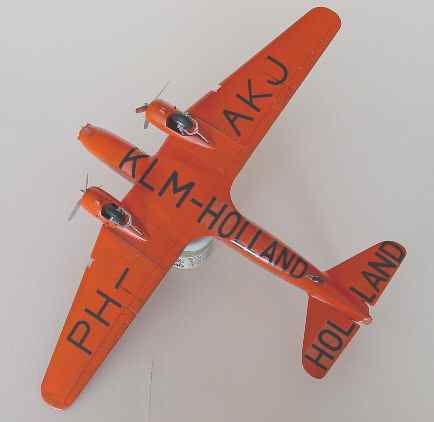
Next, the decals were applied, coming from the Dutch Decal/ Cloudmaster set. The KLM DC-2 registration PH-AKJ called "Jan van Gent" as model was made.
The decals are OK, but make sure you have a highly gloss surface as tiny air bubbles are easily trapped under the decal film. Some decal lettering is slightly oversize, especially the under fuselage KLM-HOLLAND lettering. Trim away some film and decrease the distance between letters.
Finally, the model was given a high gloss coat of Johnson Future and an antenna wire was added between rear fuselage and the vertical fin. And there she is.. a very spectacular DC-2 model of KLM in a special orange outfit...


[link to external IPMS site]
Also check out the 1/72 Airfix Douglas DC-3 model here....
References:
- Dutch DC-2: Nederlandse Vliegtuig Encyclopedie, Hugo Hooftman, 1977, in Dutch language


(c) Copyright "designer"/ All rights reserved. Your comments are welcomed by webmaster
Created this page October 5, 2001